
There is an old adage to never judge a book by its cover. And while this is certainly true if we’re speaking about people, we admittedly do like to see an actual book’s cover look attractive to our eyes. And if there is that much care in the cover of the book itself, naturally we tend to think more favorably about what we might find in its pages. This is something we are sure you have been faced with when creating your own work for sale online and designing everything yourself. You want it to look good, you want it to look professional. You’ve picked out your artwork and fully researched your topic. What you might not know is that there is a very simple thing you can add to make the entire thing come together on the front cover.
Squared Text Frames: A Classic Look
Simple framing of borders around your text can go a long way. It’s a traditionally accepted method; you can go back into the last two centuries and see examples of basic text augmented with the most simple of rectangular borders around it. This little step goes a long way in getting your finished product to have just that much more of a polished, professional look. Getting this effect is simpler to do than ever before, and we’re about to walk you through it.
To begin, head to Bookbolt.io and either create your user account if you are a first-time user, or log-in with your credentials if you are returning. Click on the “BookBolt Studio” button and you will be brought directly into the template.

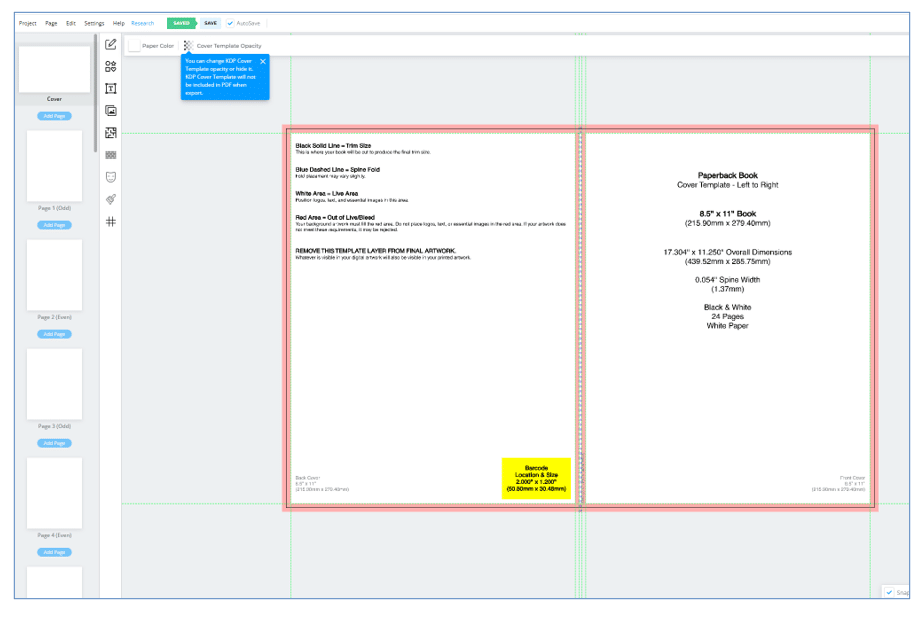
Select “Cover” and the template for your project’s cover will appear on the screen. You will see a lot of writing inside the work area but this is normal and will not be a part of your final design. This erasable layer is there to help guide you in the layout, nothing more. We are leaving it here in this example in case you chose to as well through your process. It will not affect what you do before final output.
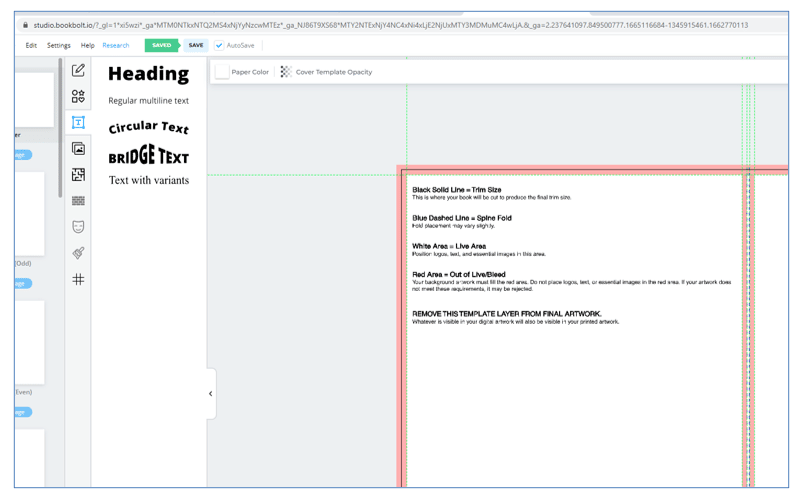
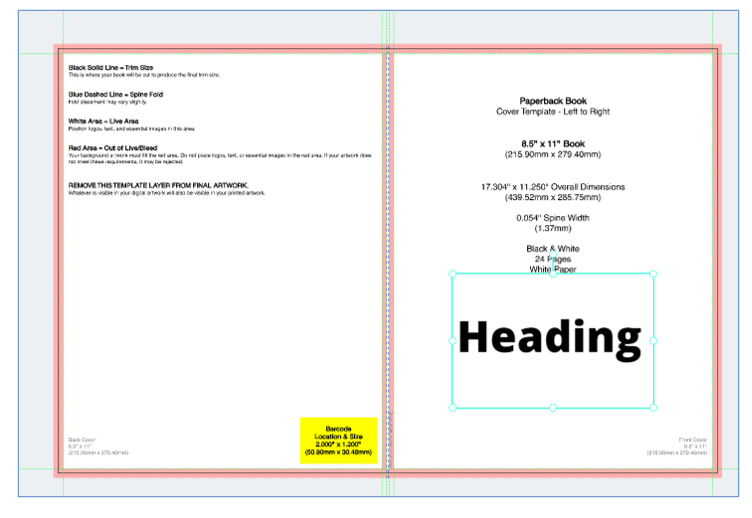
When you do this, a box will open up and ask you to pick the type of lettering you want. For this example, we’re just going to pick the first option, the basic “Heading”. Once you click this, it will appear in the middle of your workspace.
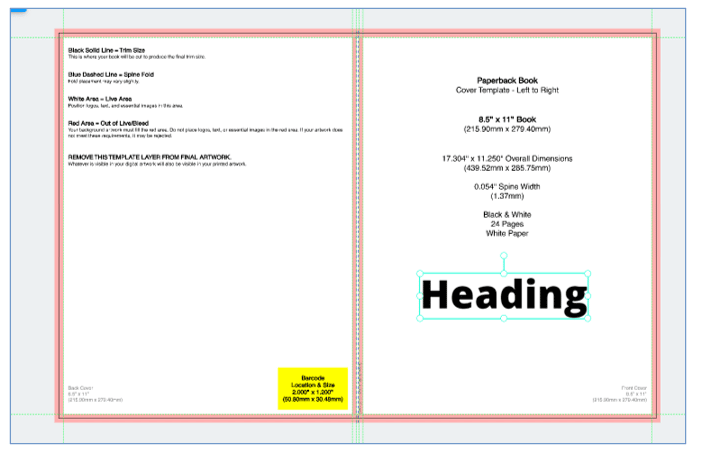
In the example, I’ve already moved it into place by just clicking and dragging. This can be positioned anywhere in the frame. NOTE: always think about the actual printing of your book, the physical task of having it done. The front cover is on the right, the back cover is on the left. They can disorient you the first few times as we read English from left to right. But if you imagine the crease down the middle as the spine of the book and all its pages behind that, once you see how it folds it all becomes clear. When fully folded, the right half is the front part.
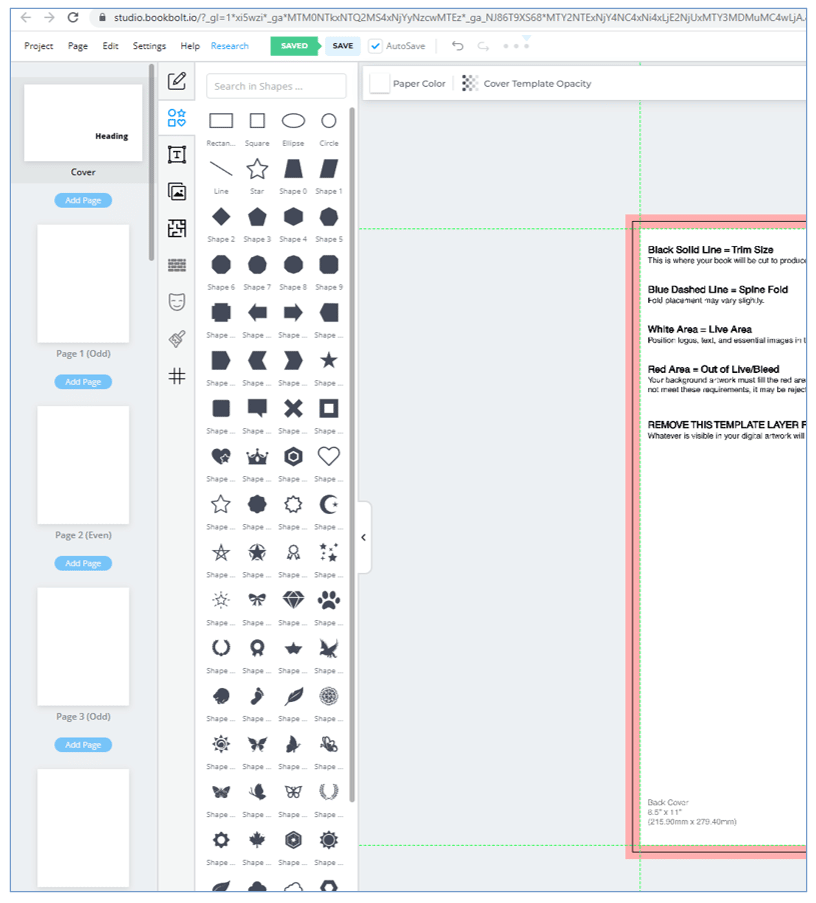
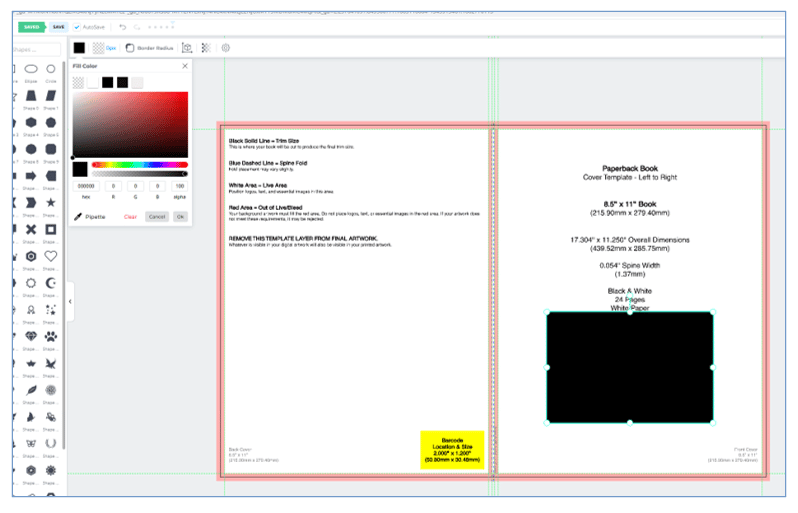
When your Heading is in place, it’s time to create the border for it. Go to the vertical bar with the pencil on top and select the icon with the various shapes. That is the “Elements” tab, and when you click it you will see all the shapes. For a rectangular border, click the top rectangle shape and a solid rectangle will appear in the middle of the page. Click and drag it over your Heading text. You can pick any shape, of course, but we are just sticking to the default basics here to get you used to the process.
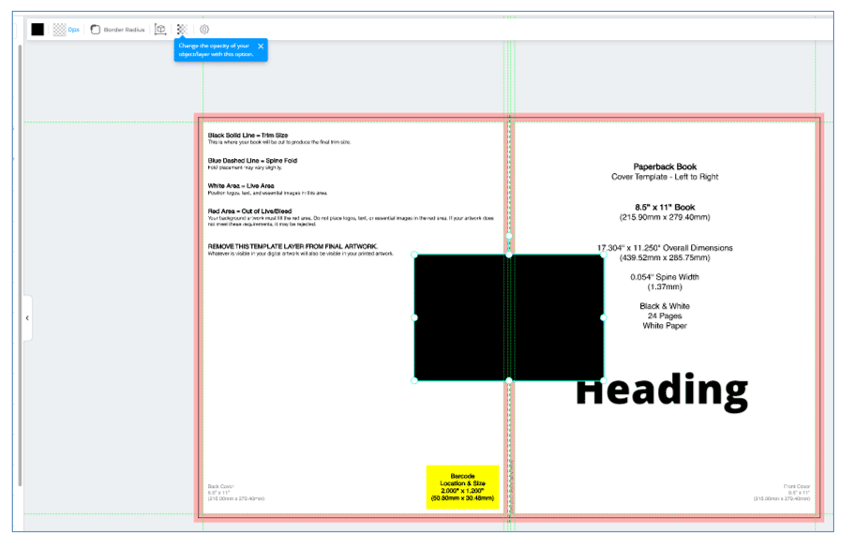
You then need to turn the black rectangle into a “see-though” window but changing the color of the box to transparent. Do you see the black square on the top left? That is the color box, which allows you to pick the colors of the shape or remove color altogether, which is what we want. Click that once and you will see below the line “Fill Color” a grey checkerboard box. Select that one, and the black solid rectangle will seem to vanish. It’s still there, its color has just been set to “transparent”.
NOTE: If you do not see that color box on top, it means you clicked somewhere else. Not to worry, just click one time in the black box and the needed menu will open again. This is just something that can happen often during the process.
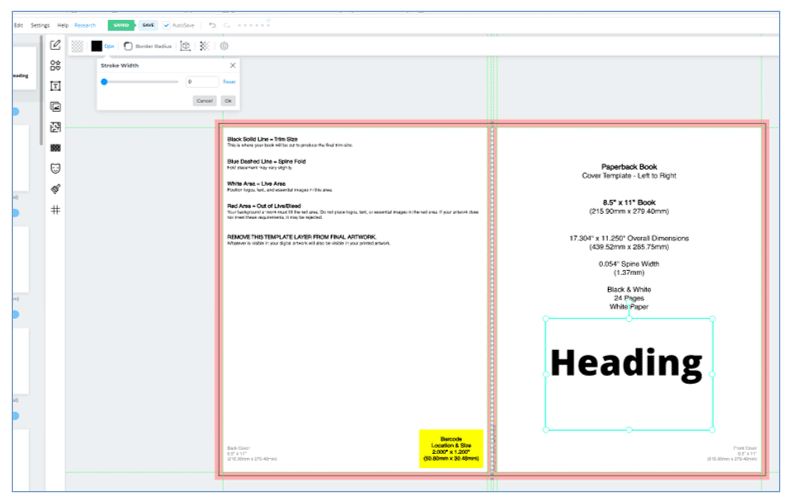
Now we can start shaping your border. The box on the left of the Color Box is the box to determine the Stroke (the border) you wish to create. What you pick is totally up to you and your design, but for now we’re choosing black yet again.
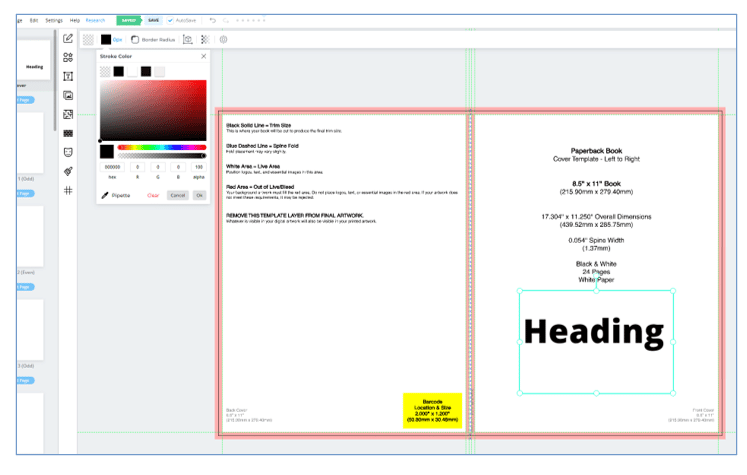
You will notice that nothing has changed to the blue/green indicator box around our Heading. That is normal, you did not make a mistake. We just have not chosen the thickness of the Stroke. You will see to the right of the Stroke Color box the indicator “0px”, which means the border is currently at zero pixels in width. Click the “0px” and the “Stroke Width” bar will appear. Slide the bar left or right to adjust the thickness of the border.
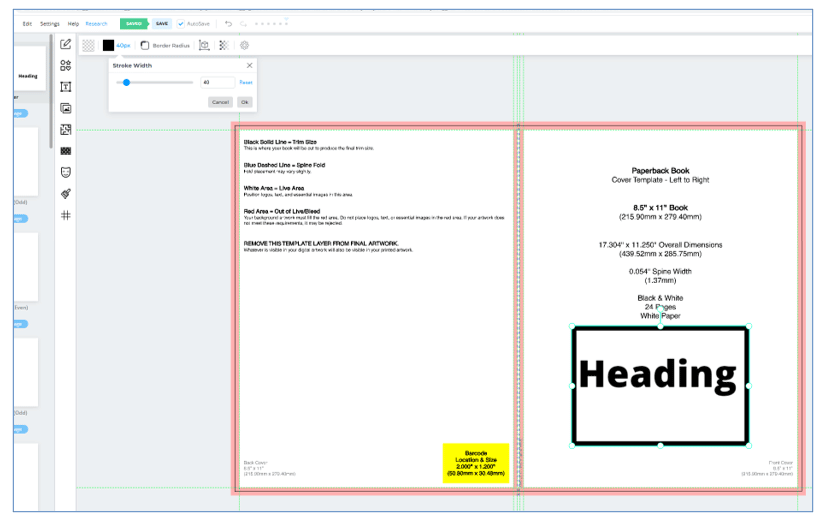
As you can see in this example, we went with a 40px border, as illustrated in the below pic. Once you position everything and get the border the way you want to see it in the final output, save your project and proceed as you would with creating the rest of the printable book.
This is just one of dozens of ways you can personalize your project and make it look as professional as possible. All of this depends on you and what you want your customers to see; there is no wrong nor right of it. Your creative flair is uniquely yours and your work should reflect that. Try different things at this stage, the worst that can happen is you change your mind.