The day that you signed up for a KDP account, watched a YouTube video, or read one of our articles and realized that you can upload all types of books to Amazon is one of the best feelings ever! Most people start off by not knowing that this business opportunity exists, and boy oh boy, the possibilities are endless.
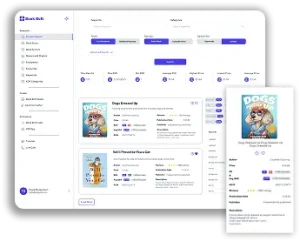
Here at Book Bolt, we always recommend diving in head first and getting a good feel for the research process (3 day free trial of Book Bolt here), understand how sales rank, quality, and interiors correlates with sales, and then figure your way around the Book Bolt Studio to create your very first book on your own! You can use any design tool you would like, but you just want to know and understand the process which is why we built the Book Bolt Studio in the first place.
Designing the first few books yourself is going to be crucial to your success on Amazon KDP (Kindle Direct Publishing). Without learning how to design these yourself (at least some of the simple designs that you see that you have your own ideas about), you are going to be limiting yourself. How will you know what text and elements work well together? How will you know what type of designs sell well on KDP, versus those that do not? How will you know how to tell someone to perfectly size your cover and interior and what bleed/no bleed mean if you do not understand the basics yourself?
We always like to tell people that they need to have a basic understanding before they can outsource to someone else and be successful in doing so. This has proven true for every business we have been a part of as well as on the Amazon KDP platform.
So, you design some KDP books and little by little they start selling! You design more books, tweak interiors, create custom interiors, and life is going great. You are starting to make more money and everything is finally falling in place just like it should! This is exactly what you want to happen. You need to PROVE the concept to yourself, understand design, understand how keywords work, and research. Once you have all that figured out, it is time to scale up. It’s finally time to take the leap to running your KDP account like a real business.
When you have an unlimited number of possibilities and 24 hours in a day, sometimes you simply cannot keep up. You may have other obligations other than sitting on the computer all day creating books, such as a family, a social life, a 9-5 job, etc. When it comes to that point, it is time to outsource!
There are many places on the internet to outsource. You could outsource some of the work to a design agency, a design club you may have seen popup on Facebook, or hire someone directly. We have always preferred to hire directly.
This is more up front work than other methods, but if you are in the KDP business for the long run (and you should be), we believe this is the best thing to do for the growth of your business.
One of the BEST places to hire some of the most talented individuals we have had the privilege of working with have come from Upwork.com. You are able to find cheap, but highly qualified and reliable designers, illustrators and any other thing you could possibly need help with. This does take a bit of leg work.
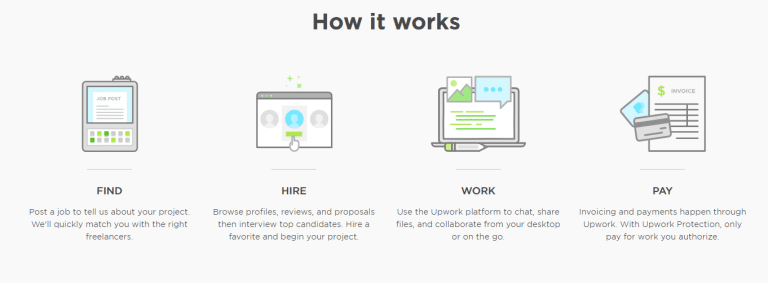
In the most simple form, you post a job ad with a description and people apply for it. You then pick out the best candidate or two. The people applying to work for you are essentially competing with each other, so you can weed out the bad candidates and quickly find what you are looking for. Using this method, we are able to get coloring book pages designed, A+ content created, custom interior pages made, etc for $5-$10 each.
Remember, always ask yourself what your time is worth. A lot of these talented individuals can accomplish something in 10 minutes that may take you 2 hours to complete. Is that worth $5? We sure think so!
So, let’s dive into it and go over exactly how to set up a campaign from beginning to end.
Step 1: Sign Up For Upwork.com
The very first step in this entire process if you want to outsource some of your designs and interiors for your books is to sign up for an actual freelancing website. In this case, we are going to be using Upwork since we have used this in the past and referenced it above.
Head over to this link: https://www.upwork.com/
In the middle of the page, you will see a box that looks like this:
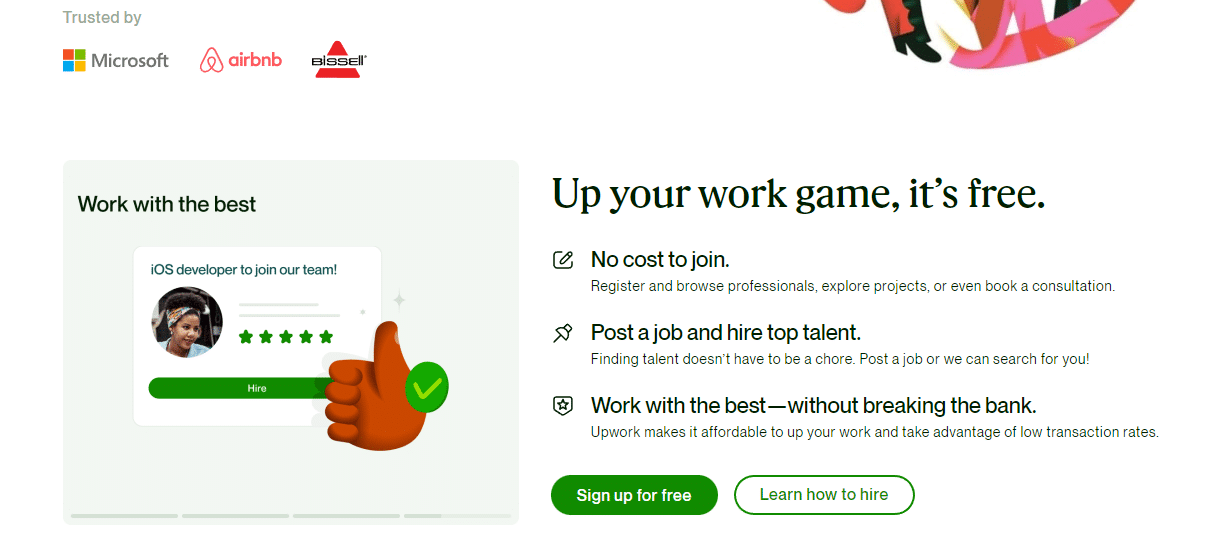
Click on sign up for free and go through the process of signing up. Make sure that you are going to be signing up for an account to HIRE PEOPLE. You are not the one that is going to be freelancing here.
Alternatively you can click on the sign up button in the right hand corner menu.
Go through the steps of entering in your name, your email address and get all signed up for an Upwork account. This shouldn’t take you very long, maybe 5-10 minutes at max.
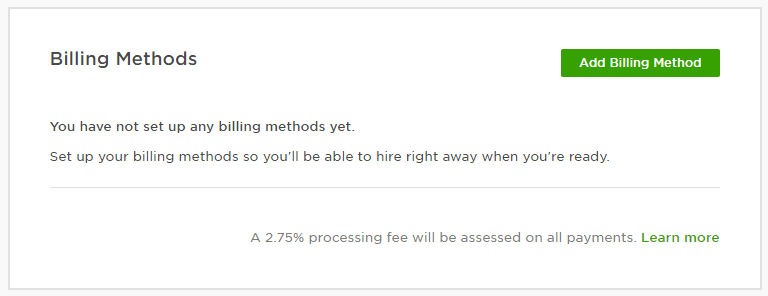
Once you get inside of the dashboard, you will want to make sure that you add a billing method. You have to have a way to pay the talent that you will be hiring, and this is done by adding a billing method.
Before you are allowed to do that, there is one step that you will need to complete: verifying your email address. Open up your email, click on the link to verify, and then set up your couple of security questions for your account. You will then be prompted and able to enter in a billing method.
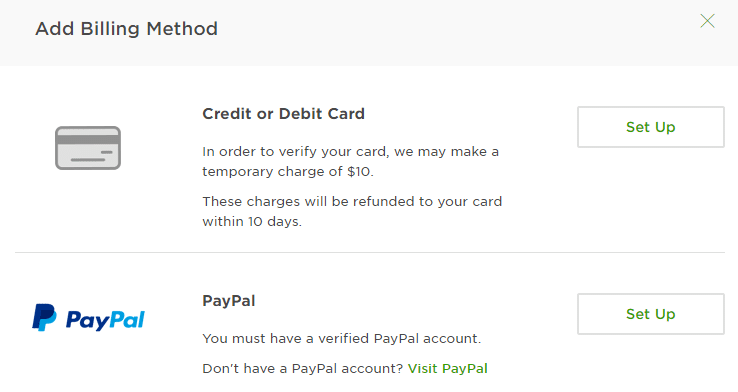
You have the option of adding a credit/debit card, or a PayPal account. There are processing fees on many of the payments, or there is a subscription to Upwork. We would recommend keeping your Upwork account on a free level, so go ahead and add a payment method to your account:
We just hooked up PayPal years ago and it has been running steadily without issues ever since!
Step 2: Post Your Job
Now that you have your brand new Upwork account set up, a verified email, and a payment method on file, you can head back inside of the home page and you will be presented with a page that looks similar to this. What you want to click on is the “Post a Job” button.

This is going to allow us to create a job ad into a world of potential freelancers.
There are multiple pieces of posting a job, so let’s dive into what I like to select to get the best results for each one of these.
Getting Started
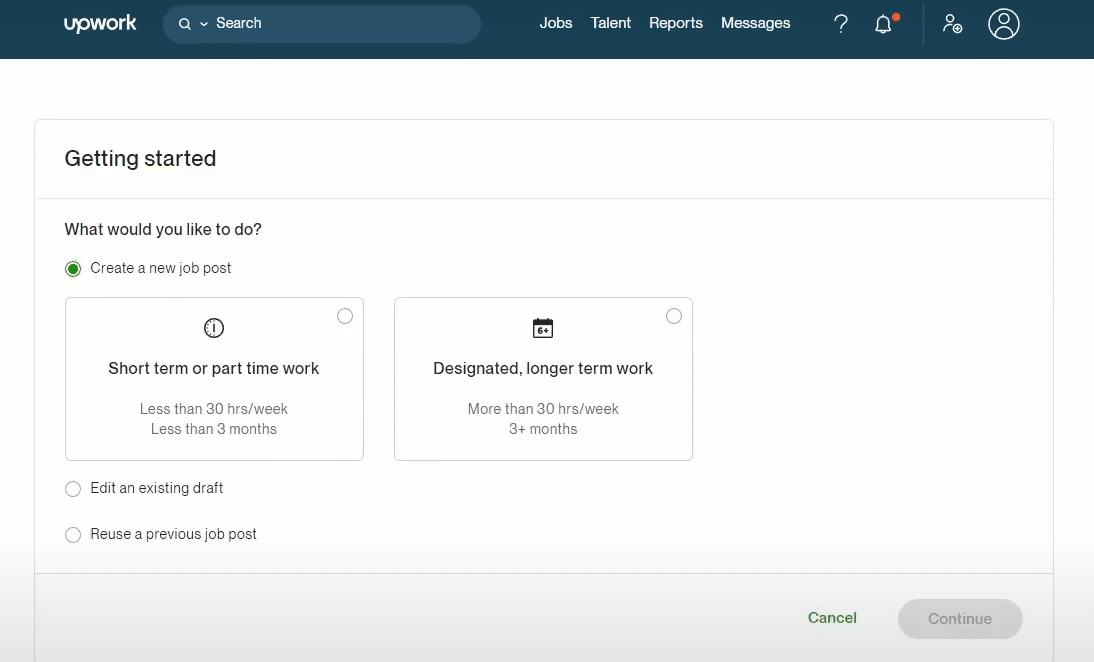
On this page, this is pretty straight forward. It will ask you if you want to hire for short term work or designated longer term. The reason you want to select one of these is that it is going to affect what kind of candidates will come into your job posting.
We like to recommend that you always select designated, longer term work EVEN IF you are going to be just trying it out. This will mean that reliable members will apply for your job, and will allow you to slowly build out a team of people that you can rely on.
Once selected, click on continue. The next few screens will walk you through the entire creation of a job post.
Title

For this job, we entered in a title for the job listing. This should be short, direct, and they should not be left guessing what you are looking for.
After you have entered in your job title, you will see a few categories show up. You want to make sure you get this as related to what you are looking for as possible. This will help show your job to only people that have the skills to complete your task.
Once done, click on next to move to the skills page.
Skills

You want your new hire to have some skills right? Of course you do! But what skills?
This page lets you search and add up to 10 different skills that you are looking for. Start typing and you will see different skills pop up, so select the most relevant to your job.
For this section, we usually go through the illustration deliverables, medium, style, type etc, but usually we leave these blank. Why? Because at the end of the day, we don’t care what they are going to be using. We only care if they are going to be giving us the right type of file so that we can then use this inside of the Book Bolt Studio.
Next, let’s move on to scope!
Scope
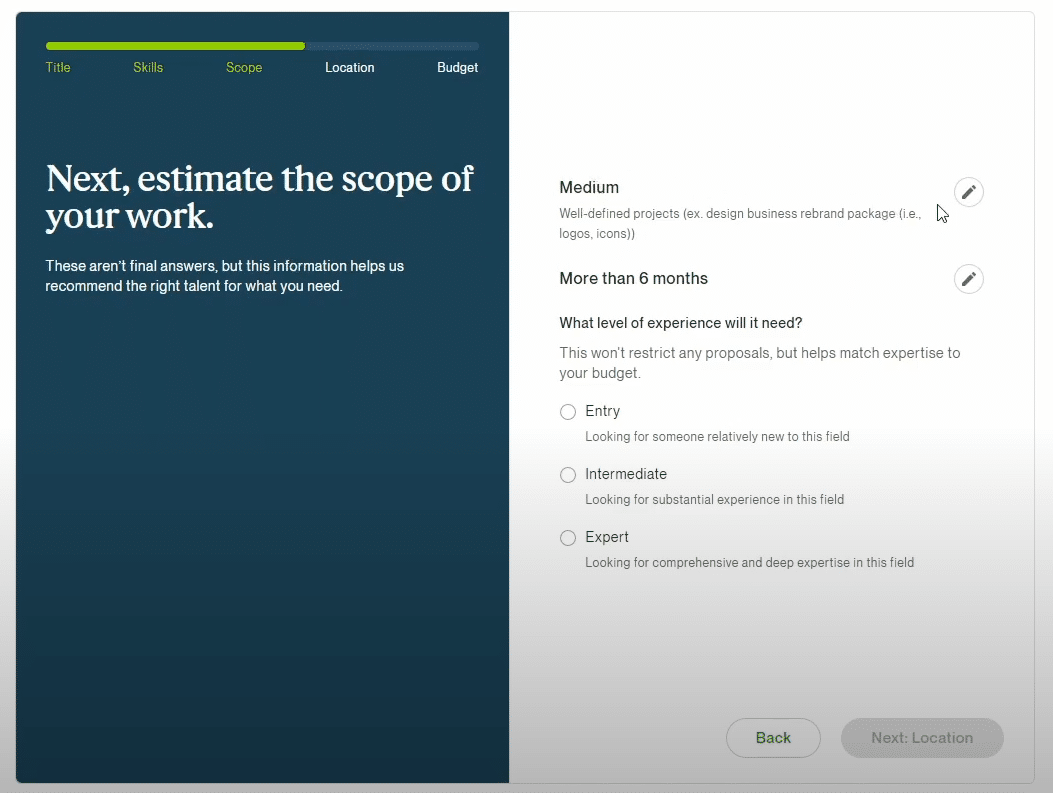
The scope of your project is where you can enter what you are looking for and the scope of the work. You can see that we have this set to medium and more than 6 months.
What we are NOT looking for is someone who has never done this before. What you really want to pay attention to is the bottom piece. We like to skip the Entry option because they have never designed for clients before, but we are ALSO going to be skipping the expert option.
Why would you want to skip experts you may ask? Well, if someone has been designing for 20-30 years, they are going to command a much much higher price, and we want high quality talent but ALSO someone who is affordable and hungry to grow. For this reason, we recommend selecting intermediate. Once you have that set, click on the next button to move on to location.
Location
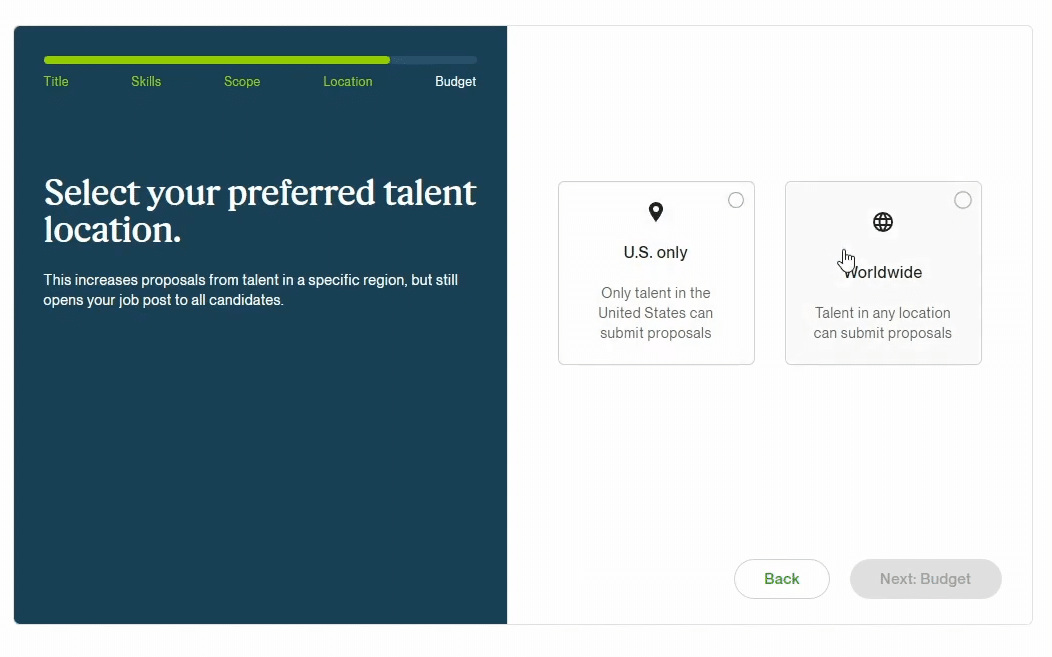
For this step, some people may select US only, but we always recommend selecting worldwide. This will open up your talent pool to the entire globe and there is SO MUCH talent out there. This will also get you a cheaper rate, but remember that we are in a global economy, so what may seem cheap to you could be top 1% pay in their local country! We have found nearly every single talented artist we have worked with in countries outside of the US.
Budget
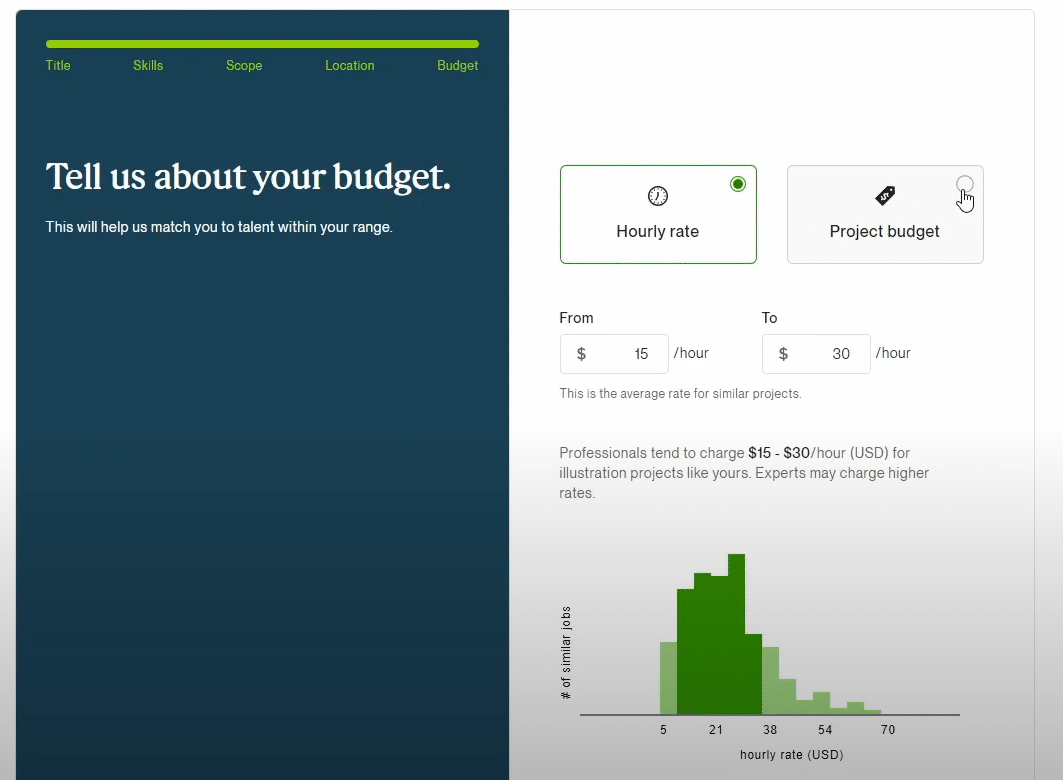
Next, it will ask you about your budget.
What we think most people get wrong here, is that they hire by the hour. We always recommend selecting a project budget for everything you are looking for. Not only is this easier (because talented people can create everything you are looking for much quicker), but it means that people will stop “slowing down” so to speak to earn more.
Once you select project budget, you need to enter in a maximum project budget.
If you were looking for 25 coloring book pages for example, and you want to pay $5 per image, multiply that number out and enter it into the box. If you enter just a single page for the entire project, you will not get very many candidates!
Now, we can finally review your job post.
Review Your Job Post
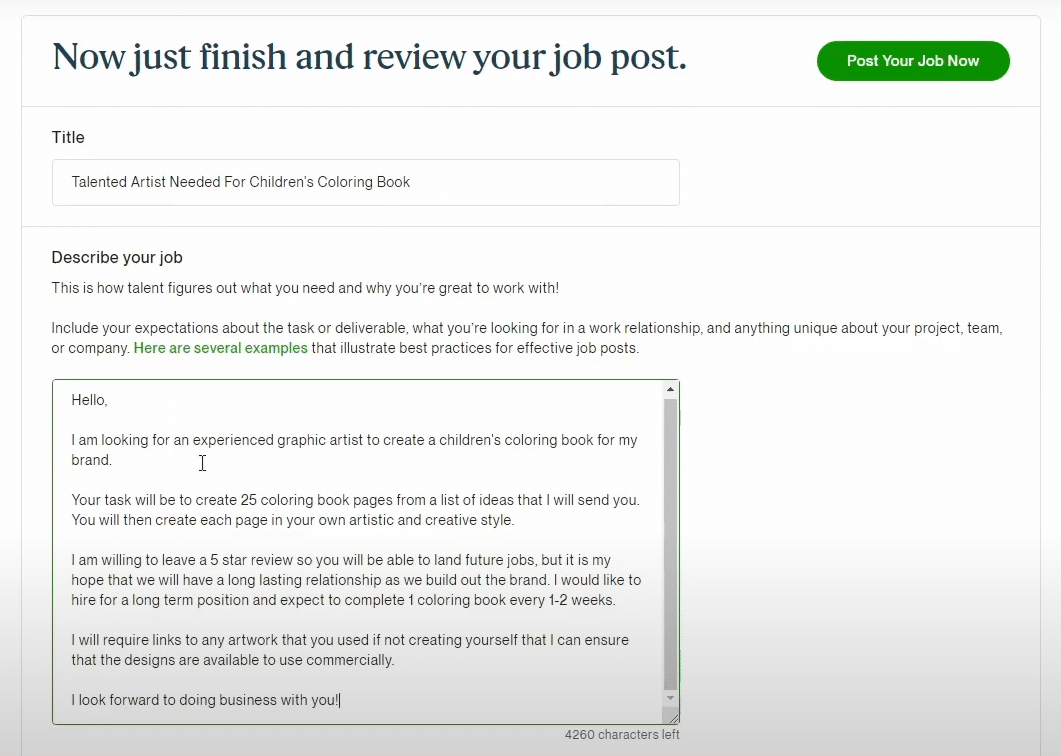
Now we are on the final steps here. You will already see your title that you entered a few steps back, but this is where you actually get to post in the description for your job. We are not going to copy and paste the job posting so it does not show up thousands of times on Upwork, but you can see it above.
First, we lay out what the job is about, and what we are looking to get created.
We then tell potential candidates what their task will be and how they will be given the ideas of what to create.
We also like to incentivize them to do a good job so that we will give them a high quality review if they deliver high quality work.
You will see that we show in the job posting that if they DO do a good job for what we are looking for, we will be hiring them long term, and they will have consistent work (this is very important).
Finally, we require any links to artwork used so that we can CHECK THE LICENSES. This is incredibly important. Since we will be selling globally through Amazon KDP, we need to make sure we are creating unique books that will not run us into any hot water.
Screening Questions
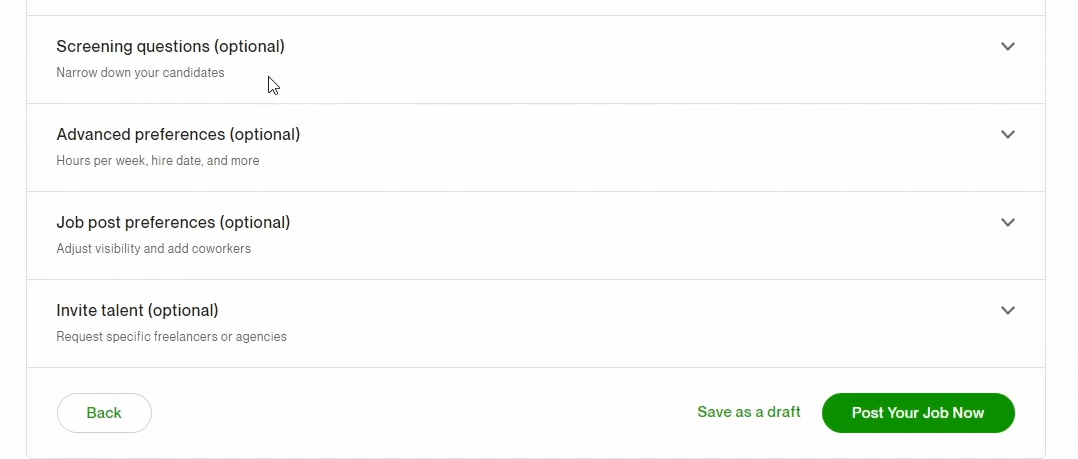
Scrolling down to the bottom of that page, you see the option for screening questions. While this says it is optional, we say that it is NOT OPTIONAL. You really, really should fill these out.
Not only will these allow you to assess the level of English and talent your potential has, but it lets you know if they can actually do the research as requested in the job posting.
We like to be able to communicate clearly with the designer so having a decent grasp on the English language is a must. Ask questions that would need some sort of explanation so you can see how they type. Here are a few examples:
- How long have you been designing and what programs do you use? Why do you like these design programs?
- Who is the 31st president of the United States (This will show you that they can research and look things up if needed)
- What is your favorite hobby and why?
After all of the above is complete, you can look through your entire posting and post your job!
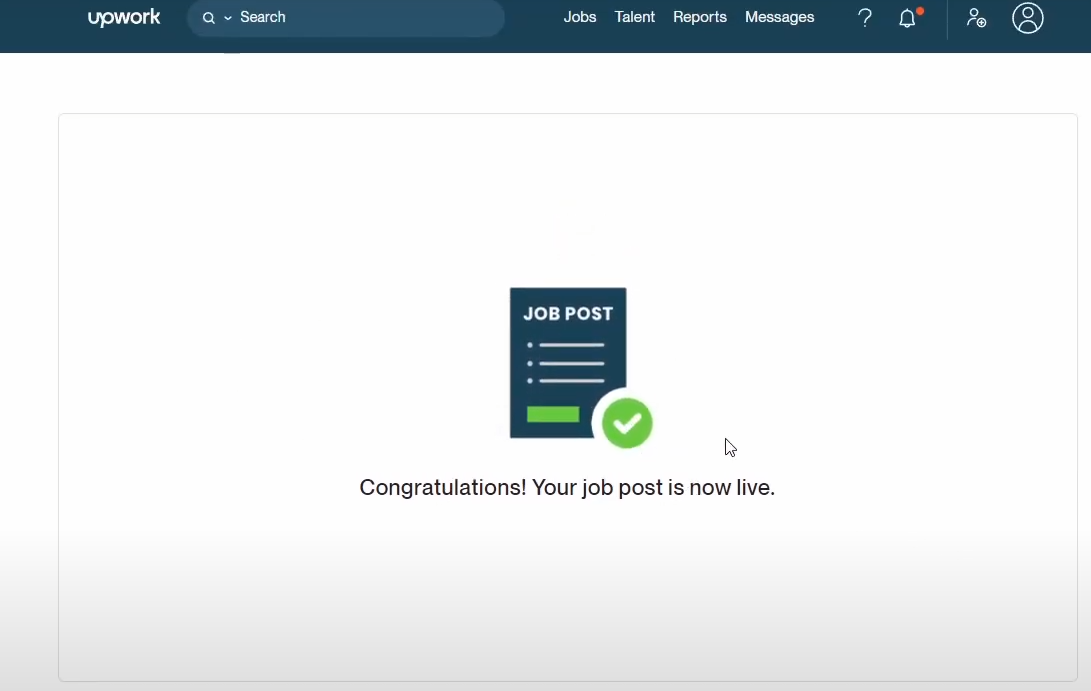
With this method, now that your job is posted, you just have to sit back and wait. It might take a few hours for it to start kicking in, but applicants should start pouring into your job listing. We usually get 20-30 people applying each time this job is posted just like we did above.
Step 3: Look Through Your Applicants And Hire Your First Talent
Now that you have given it some time, you will see applications coming through within an hour or so of posting up your job ad.
This process is going to be different for everyone. Some people will want to jump on a phone call, a Skype call, etc, but we like to take a much more simple approach.
First, we will go through all the applications and look at the questions that we asked them. If they answer poorly, answer incorrectly, or their English is so broken we have a hard time understanding, we immediately pass on that candidate. Don’t worry, there are no hard feelings here. You don’t want to try and “force” a fit with your business. Since you will be working with this person for a long time (hopefully), you want to find someone who jives with you and your style.
This is a crucial step. It is not worth your time to hire someone who can’t spend 15 seconds asking Google who the 31st president is to get a job. If they can’t do that, do you really think they are going to take the time on your book designs?
After we have gone through and cleaned up the candidates by looking at the questions, we will then start looking at their examples. If you have been selling on KDP for just a little bit, you probably know what kind of style works and what does not work, or what type of interiors or coloring book pages you are looking for. Get rid of everyone in the list that have examples that are not matching up with your vision.
At this point, you should have a pool of a few people who have good communication, great designs, and took the time to fill out the rest of the questions and introduce themselves.
Time to test them out!
Instead of interviewing each one of them, we like to give each of them a project (we like to select 2-3 candidates, and give them the SAME job). Ask them to create the work and send it back in the dimensions and style you are looking for.
You are not going to hire anyone that you give this test to. You may not even use anything that they send you once it comes back if they are not good or what you are looking for.
Get back the test projects, and when you find someone that delivers great work, OM TIME, and followed your directions, hire them!
Wrapping It Up
This about sums up the entire process of hiring people on Upwork. We know that getting started doing this can seem overwhelming and almost like a headache if you are not used to the process. We promise that if you spend the time to learn, go through the actions, and hire a few people, eventually you will build up such a great team that you can rely on them to do a lot of the heavy lifting in your KDP business.
Think of this as an investment in your KDP business. The longer you run your account on Amazon KDP, the more it will grow, and the more royalties, possibilities, and growth/sales you will see. We have spent thousands and thousands of dollars through Upwork in our KDP journey, and that number is only increasing.
IF you can build a solid base of books that sell, then you can keep outsourcing and scaling your business. Remember, it all starts with 1 single book!
To your success,
Book Bolt